Air conditioning is an essential feature of every vehicle, especially during the hot summer months. However, when the AC compressor fails, it can be expensive to repair or replace. If you’re a DIY enthusiast and want to save some money on repairs, you might consider installing a new AC compressor in your car yourself. Although it may seem intimidating, with the proper technique and tools, anyone can do it.
In this blog post, we offer expert advice on DIY car AC compressor installation to help you get started.
Taking an Expert’s Advice is Important for the DIY Installation of a Car AC Compressor- But Why?
As vehicle owners, there is an undeniable sense of pride that comes with successfully completing do-it-yourself (DIY) projects.
However, when it comes to something as crucial as car air conditioning compressor installation, seeking expert advice is crucial. Without the right experience and knowledge, working on the AC compressor can prove to be a daunting and difficult task. Seeking expert advice will not only ensure correct installation but also prevent any safety hazards.
You will also benefit from valuable insights on proper maintenance and the latest products and technologies available in the market. So, before you set out to work on your car’s AC compressor, it is essential to consult with a professional to ensure a smooth and successful outcome.
Here is some expert advice for the DIY installation of car ACV compressors:
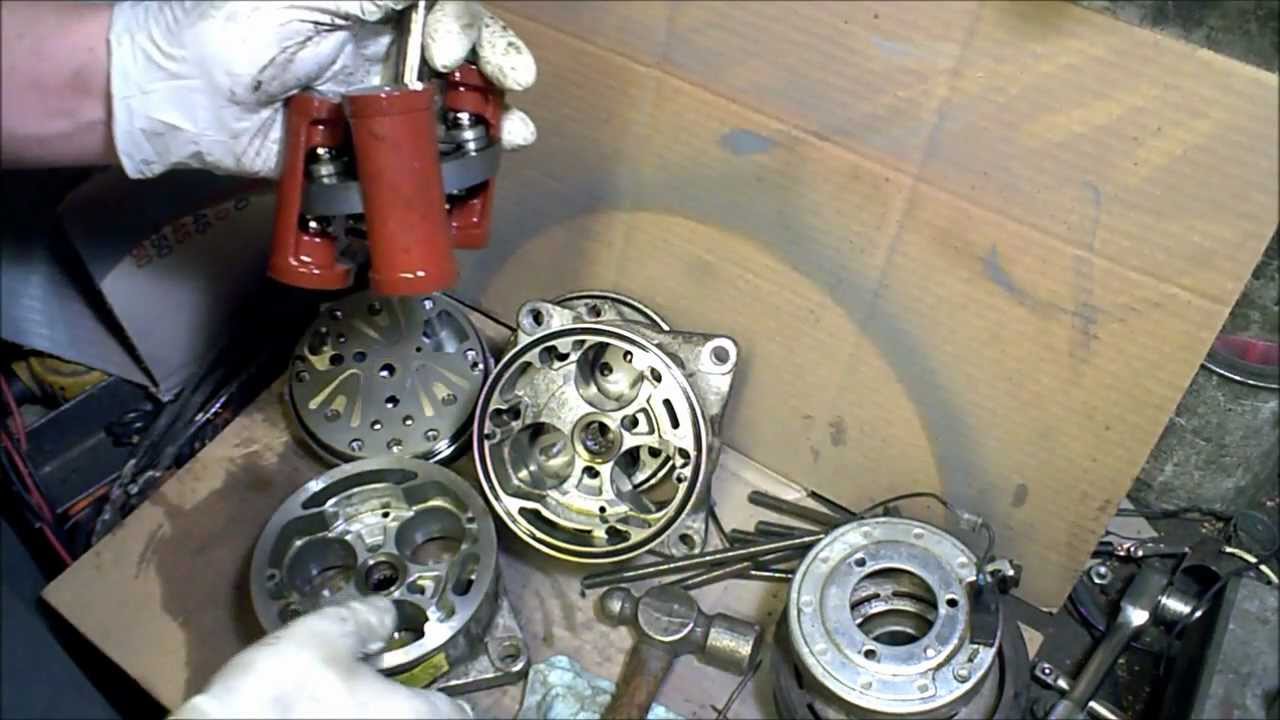
Assess the AC system
Before beginning the installation process, you must conduct a visual inspection of the AC system to determine what needs fixing. Check for leaks, damaged hoses, and malfunctioning parts that might have contributed to the compressor’s failure. Address these issues before installing the new compressor, or else it may fail again shortly after installation.
Gather necessary tools and supplies.
Acquiring the right tools and supplies beforehand will make the installation process smoother. You’ll need a set of metric sockets, a torque wrench, a set of pliers, a flathead screwdriver, a vacuum pump, a refrigerant recharge kit, and a new compressor. You might also need a helper, a protective mask, gloves, and safety glasses to stay safe while working.
Remove the old compressor.
Begin by locating the old compressor and disconnecting the electrical wires and hoses attached to it. Use a ratchet to remove the bolts that hold it in place, then carefully remove the compressor. Inspect the area for debris and clean it out if necessary.
Install the new compressor.
Attach the new compressor to the mounting brackets and secure it with bolts according to the manufacturer’s instructions. Reconnect the electrical wires and hoses, then tighten them to the manufacturer’s recommended torque specifications. Use the vacuum pump to remove the air and moisture from the system, then use the refrigerant recharge kit to refill it with the correct type and amount of refrigerant.
Test the system
Turn on your car and allow the AC to run for a few minutes to observe its performance. If the air temperature is cooler than before, and the system functions correctly, your DIY car AC compressor installation was a success.
Conclusion
While installing a new AC compressor yourself may seem daunting, it can save you a lot of money in repair costs. However, if in doubt, seek professional assistance from a certified mechanic. Following the guidelines contained in this article and the instructions that come with your new compressor, you can install the compressor in your car without sacrificing safety or function. Remember to conduct inspections, gather the necessary tools, remove the old compressor, install the new compressor correctly, and test the system. Happy DIY!